The Water Damage Restoration Process — What Happens from First Call to Final Walkthrough
Water damage restoration follows a specific sequence — and understanding that sequence before you need it gives you a real advantage. This guide walks you through every step of the process, what equipment is used, how long each phase takes, and what you should be doing at each stage to protect your home and your insurance claim.
The water damage restoration process is not a single event — it is a structured series of phases, each building on the one before it. Skipping or rushing any step creates problems downstream. Here is exactly what happens, in order, when a restoration team arrives at your Austin home.
Emergency Contact and Initial Assessment
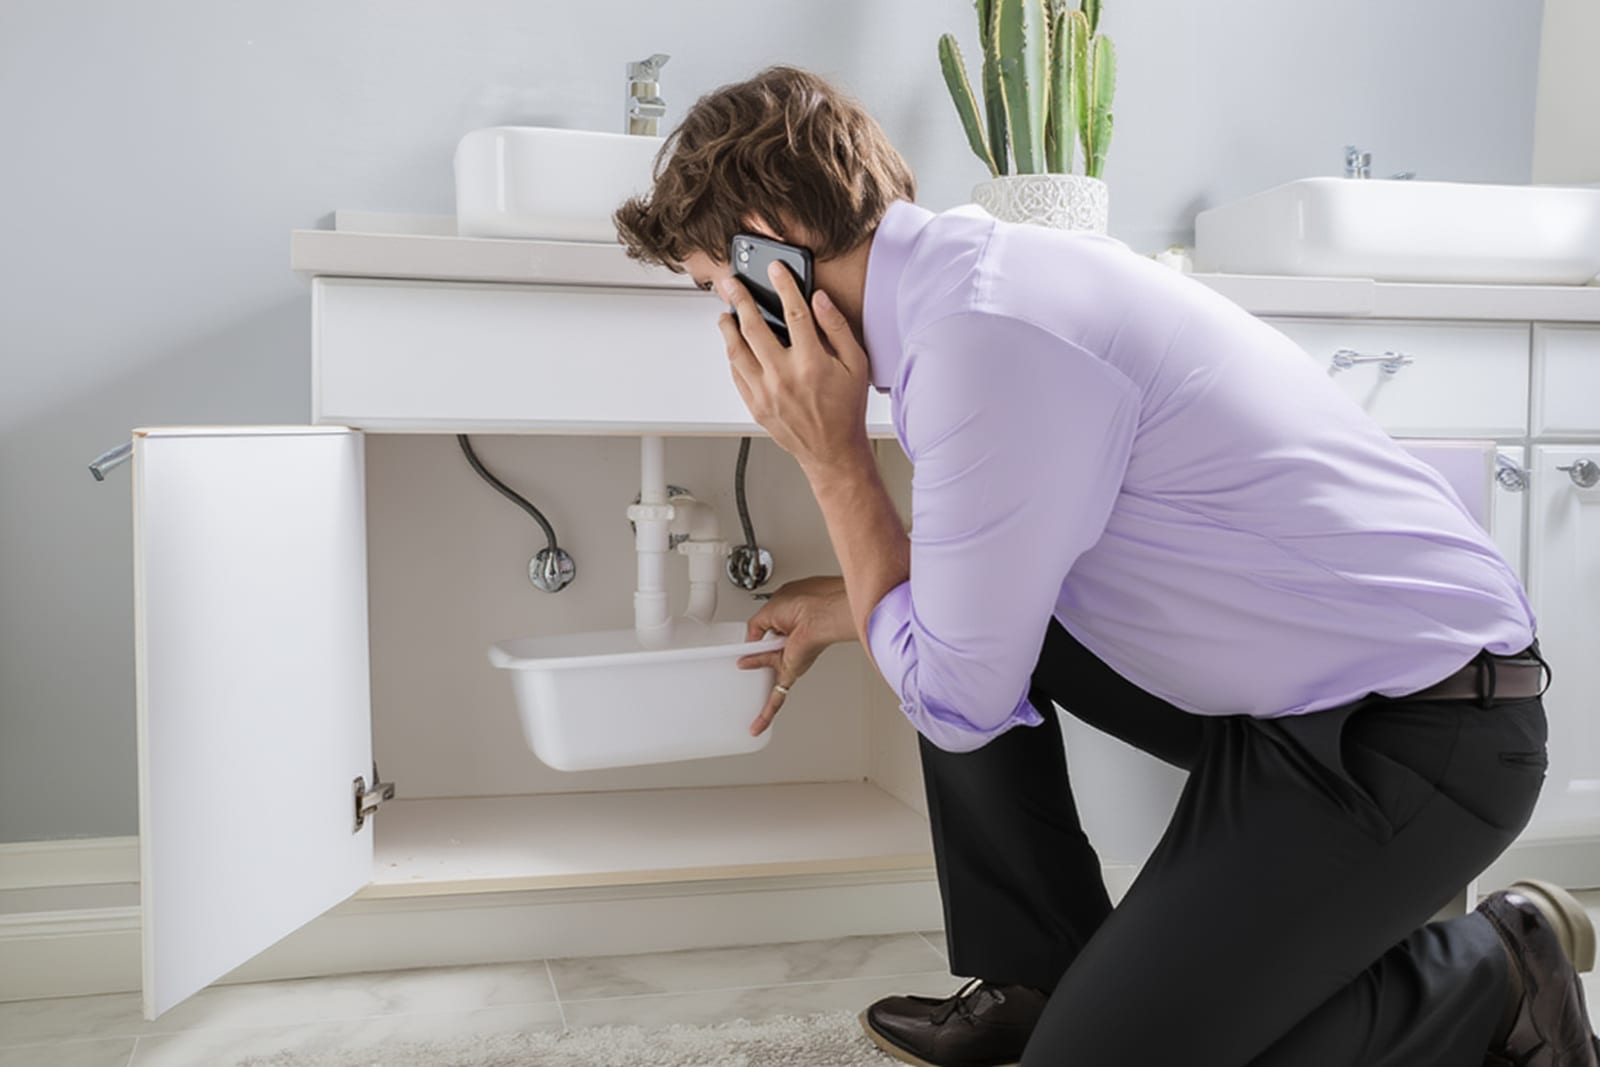
The process begins the moment you call. A qualified technician arrives to perform a thorough assessment of the damage — not to start ripping things out, but to understand the full scope before any work begins.
During the assessment, the technician will:
- Identify and stop the water source — if it has not already been shut off
- Determine the water category — Category 1 (clean), Category 2 (grey), or Category 3 (contaminated) based on the IICRC S500 standard
- Map the moisture intrusion — using Protimeter moisture meters and thermal imaging cameras to find water that is not visible to the eye
- Document the initial conditions — photos, moisture readings, and a written scope that becomes part of your insurance file
This assessment typically takes 45 minutes to an hour for a standard residential loss. It determines everything that follows — the equipment needed, the materials that must be removed, and the realistic timeline for your project.
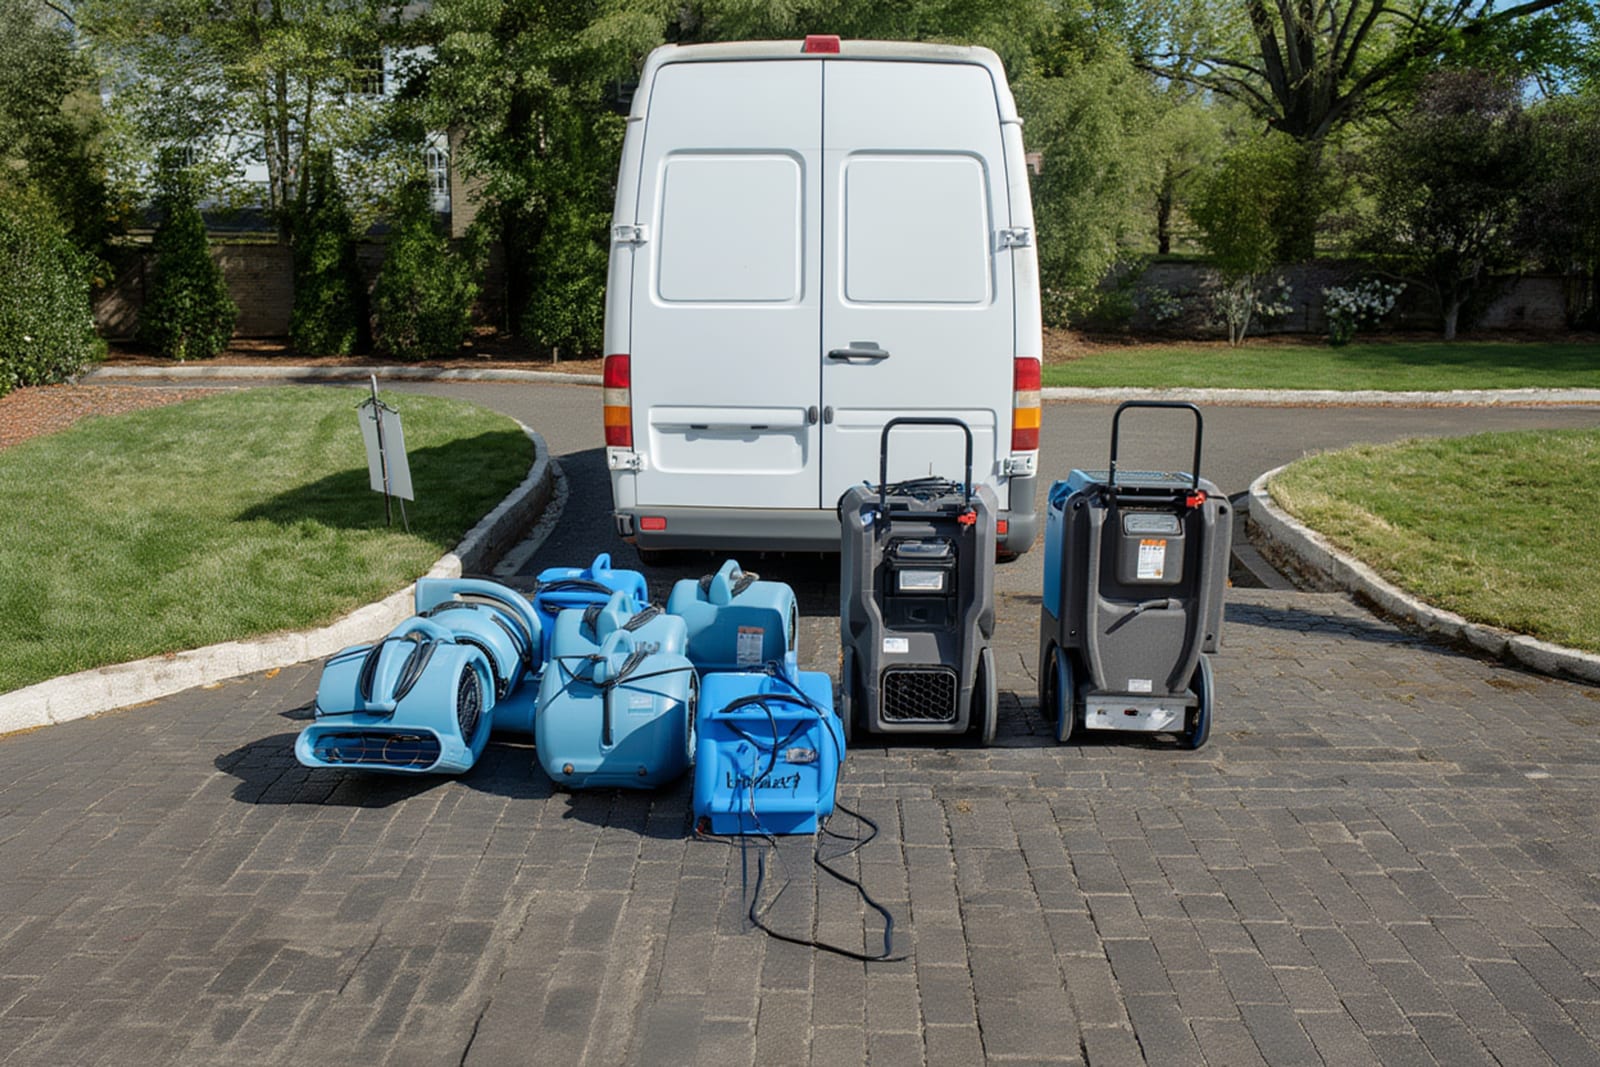
Water Extraction and Removal
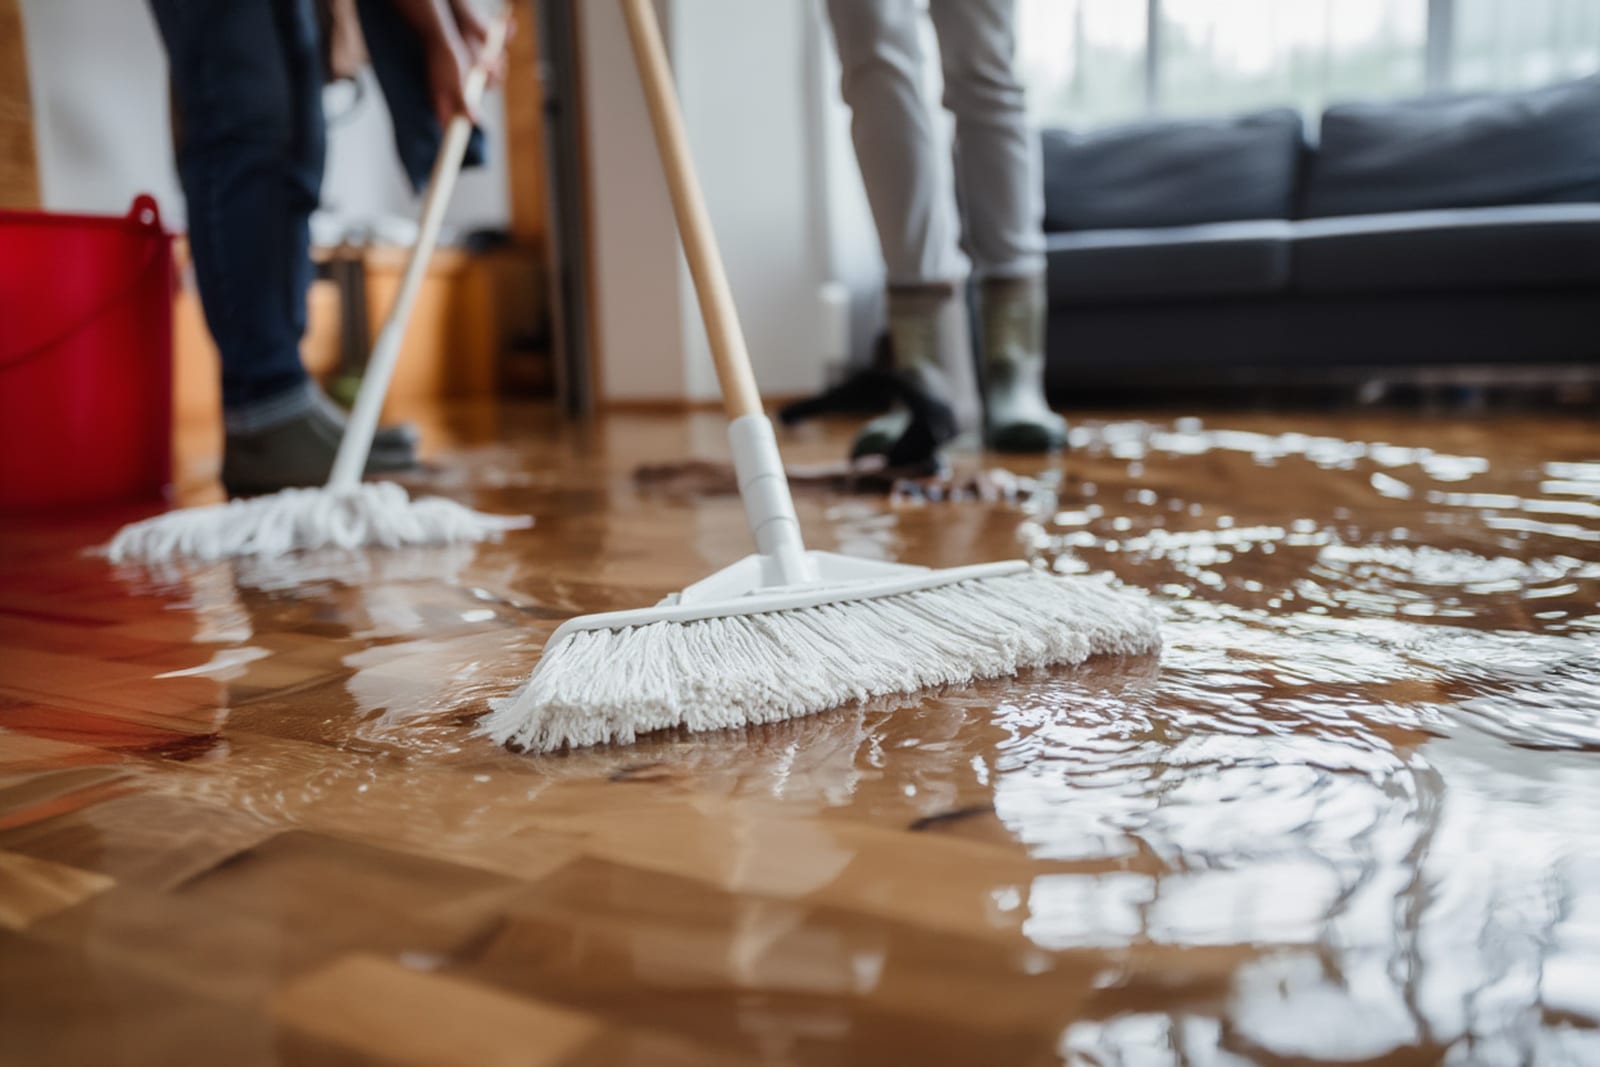
Once the assessment is complete, the priority shifts to removing standing water as quickly as possible. Every hour that water sits in your home, it migrates further into walls, subfloor, and structural materials.
Extraction equipment includes:
- Truck-mounted extractors — high-volume pumps that remove hundreds of gallons per hour from heavily flooded areas
- Portable submersible pumps — for areas where truck access is limited, such as basements and interior rooms
- Weighted extraction tools — specialized wands that press into carpet and pad to pull water from fibers and backing
The principle is straightforward: every gallon removed mechanically is energy you do not have to spend evaporating during the drying phase. Thorough extraction can reduce total drying time by days.
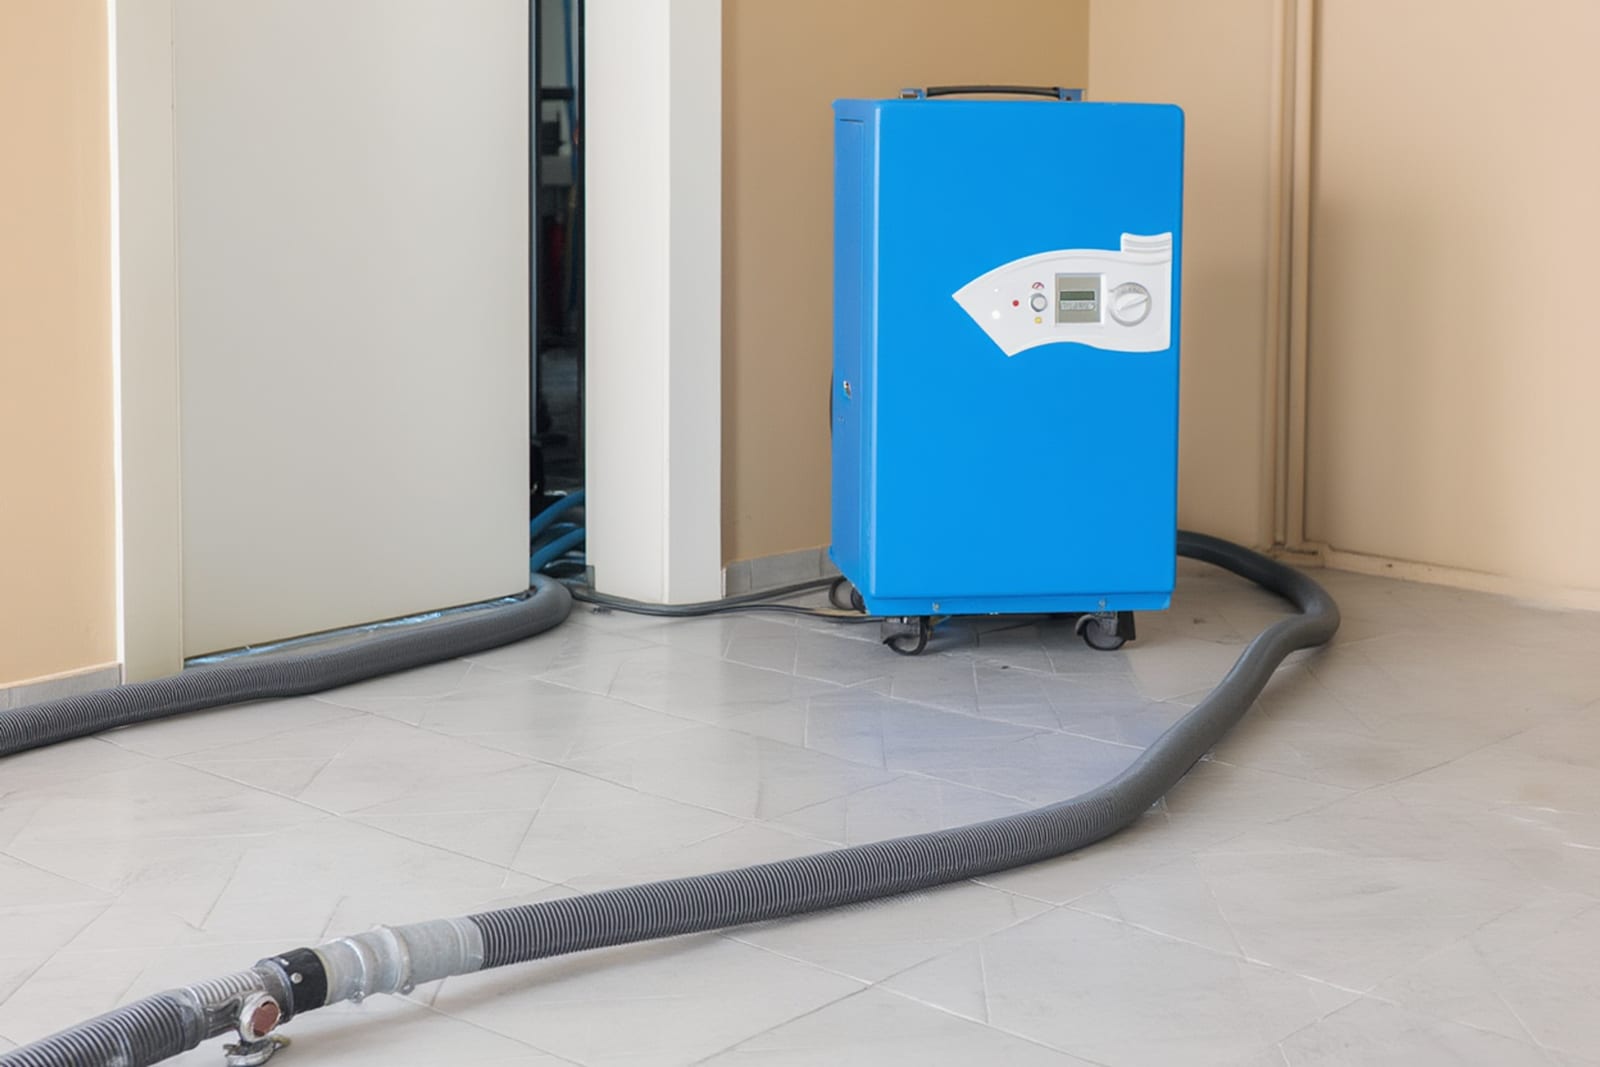
Drying and Dehumidification
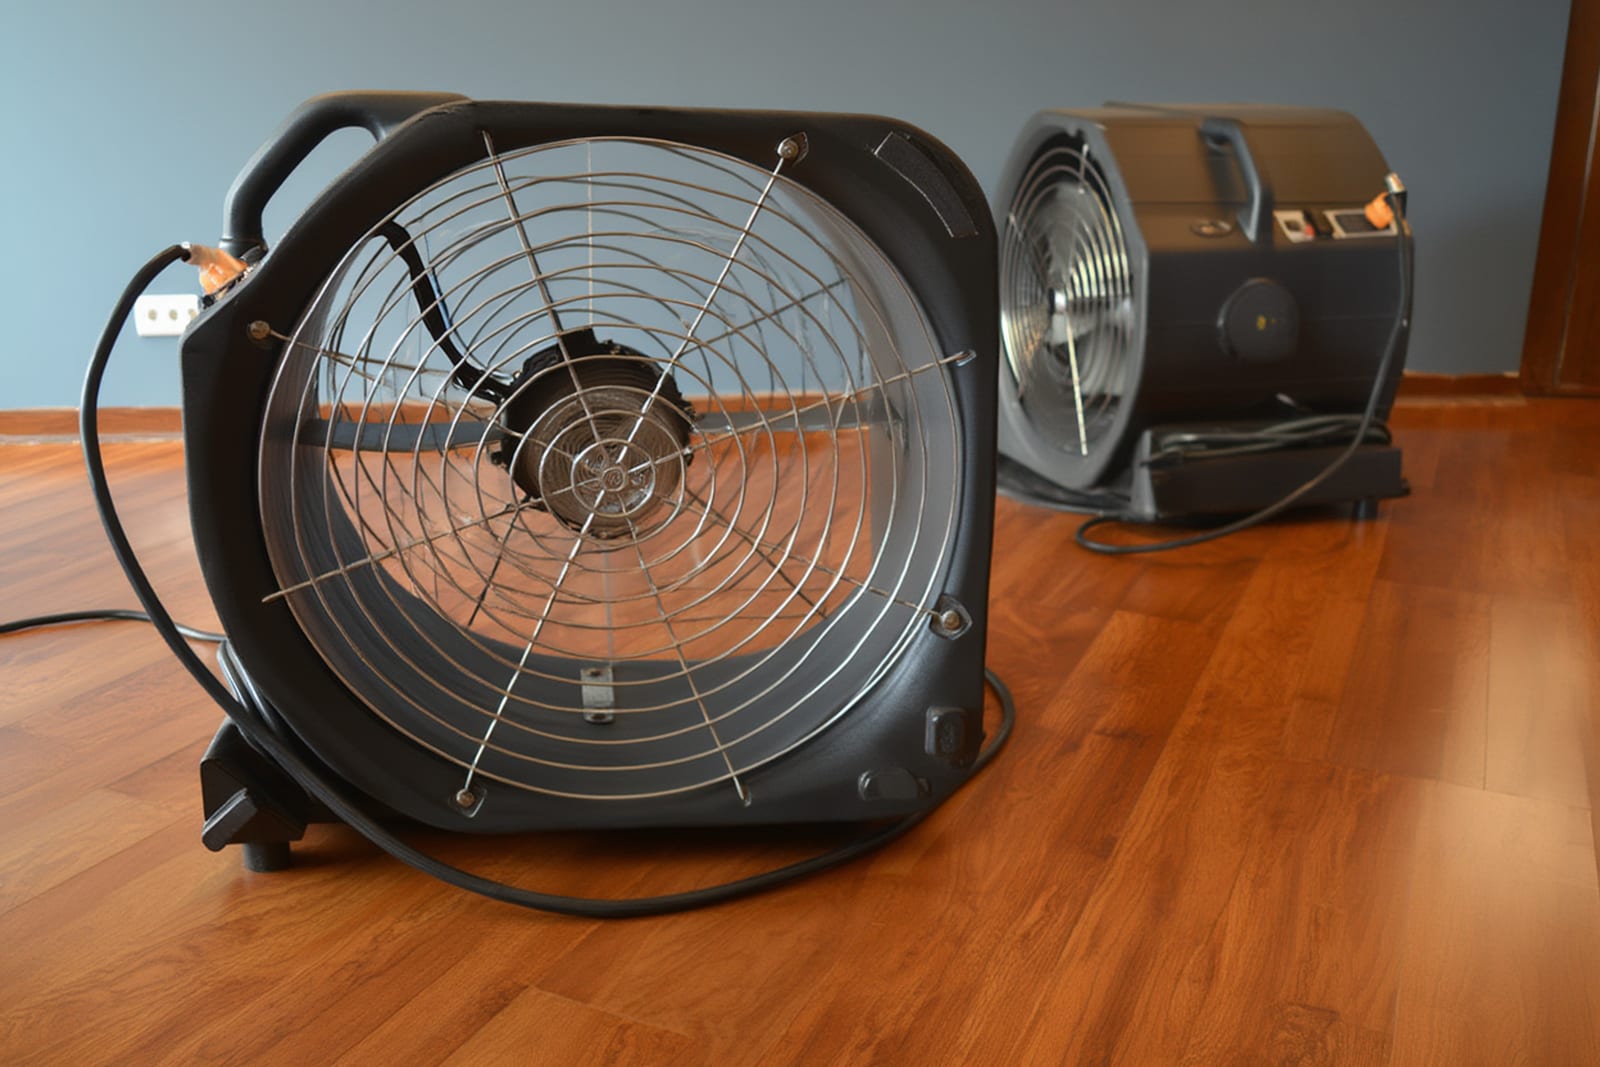
This is the most technical phase of the restoration process — and the one most often done poorly by inexperienced companies. Structural drying is not about placing fans and hoping for the best. It is applied science.
Professional drying involves:
- LGR dehumidifiers (low-grain refrigerant) — these machines pull moisture from the air, lowering the relative humidity so wet materials can release trapped water
- High-velocity air movers — positioned strategically to create airflow across wet surfaces, accelerating evaporation
- Injectidry systems — for drying inside wall cavities and under cabinets without full demolition
- Hardwood floor drying mats — specialized systems for salvaging hardwood flooring without removal
In Austin's climate, drying typically takes 3 to 5 days for a standard Category 1 loss. Austin's warm temperatures help accelerate evaporation, but humidity levels — often above 60% outdoors from April through October — mean dehumidifiers work hard. We monitor psychrometric conditions and take moisture readings daily, adjusting equipment placement as the structure dries.
Cleaning and Sanitizing
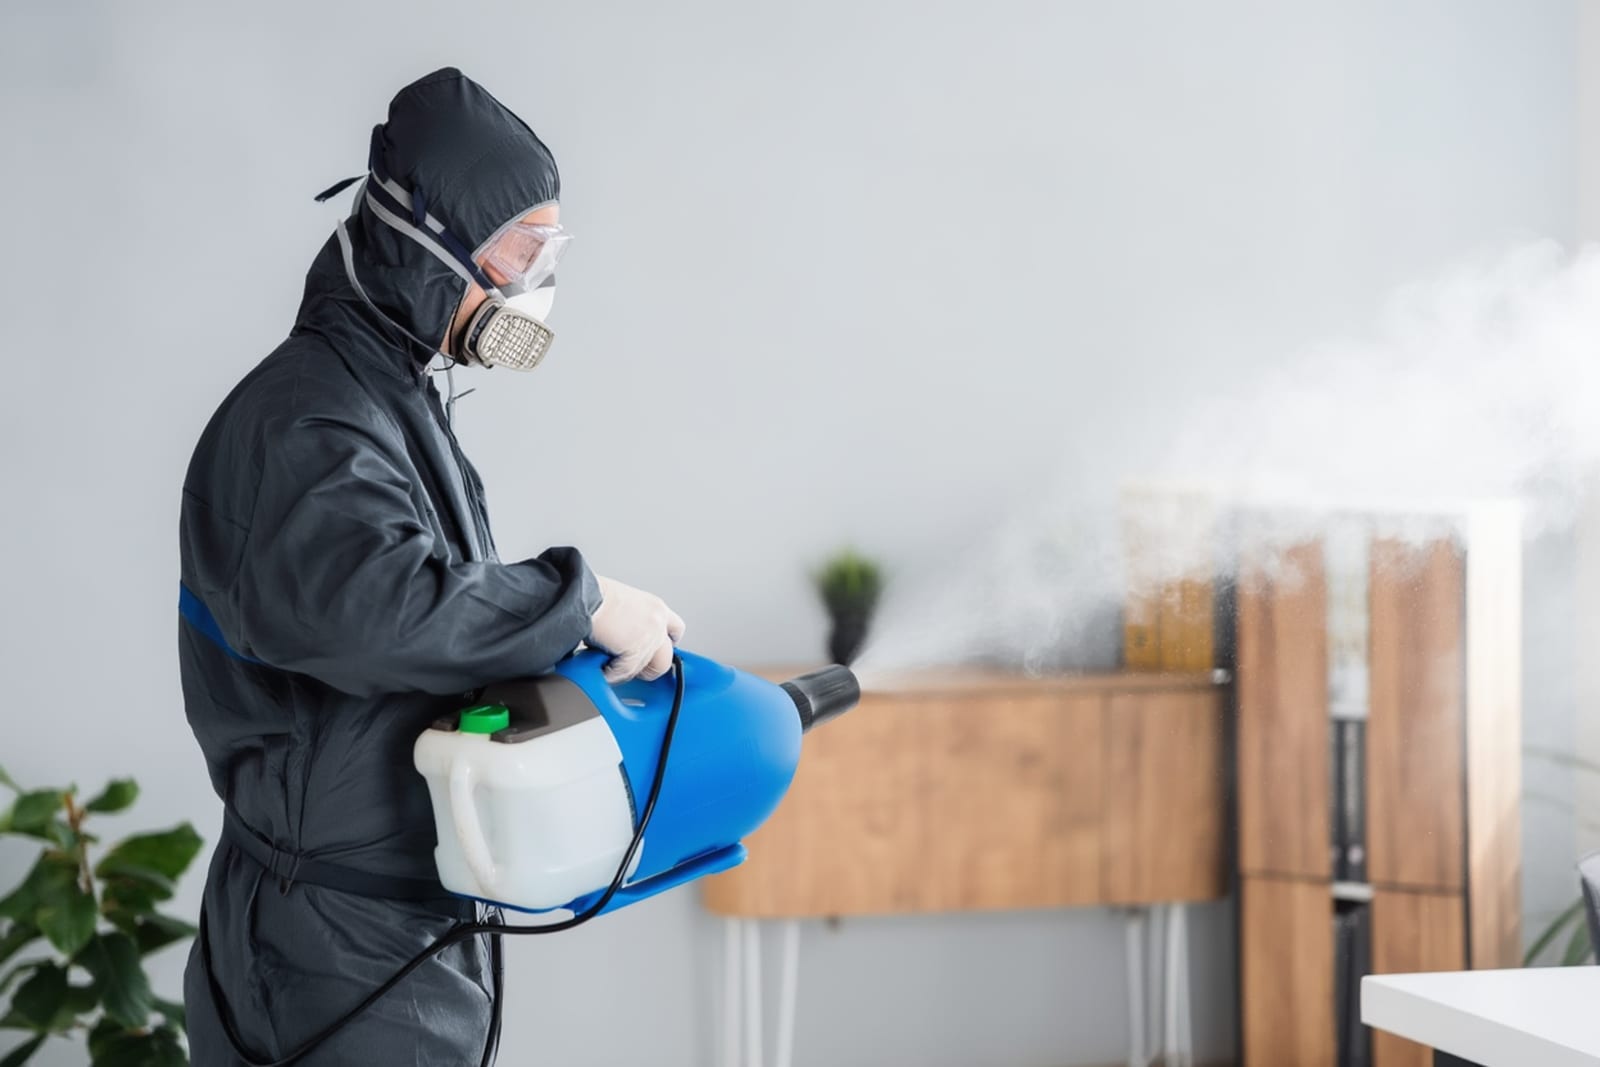
Once moisture levels are dropping and damaged materials are exposed, antimicrobial treatment begins. This step prevents mold colonization during the drying period — particularly important in Austin's humid climate where the margin for mold growth is narrow.
- Antimicrobial agents are applied to all exposed surfaces — wall cavities, subfloor, framing
- HEPA air scrubbers filter airborne particles and microbial spores from the work area
- Contents cleaning — salvageable belongings are cleaned, dried, and inventoried
- Odor treatment — if Category 2 or 3 water was involved, targeted deodorization addresses residual smell
For sewage backup events (Category 3), cleaning protocols are significantly more aggressive. All porous materials that contacted contaminated water are removed and disposed of — there is no cleaning a sewage-soaked carpet pad back to safe condition.
Restoration and Repairs
With the structure verified dry and treated, repair and reconstruction begins. The scope depends entirely on what was removed during the mitigation phase.
Common repair work includes:
- Drywall replacement — matching existing texture (knockdown, orange peel, smooth) to blend with undamaged areas
- Baseboard and trim reinstallation — reusing original materials where possible, matching profiles where replacement is needed
- Flooring repair or replacement — hardwood refinishing, tile re-setting, or carpet replacement
- Paint matching — color-matched to existing walls so repaired areas are not obvious
- Cabinet and vanity repair — addressing kick plates, interior shelving, and backing that absorbed water
The goal is pre-loss condition — your home should look and function the way it did before the water event. Not better, not worse. Exactly as it was.
Final Inspection and Documentation
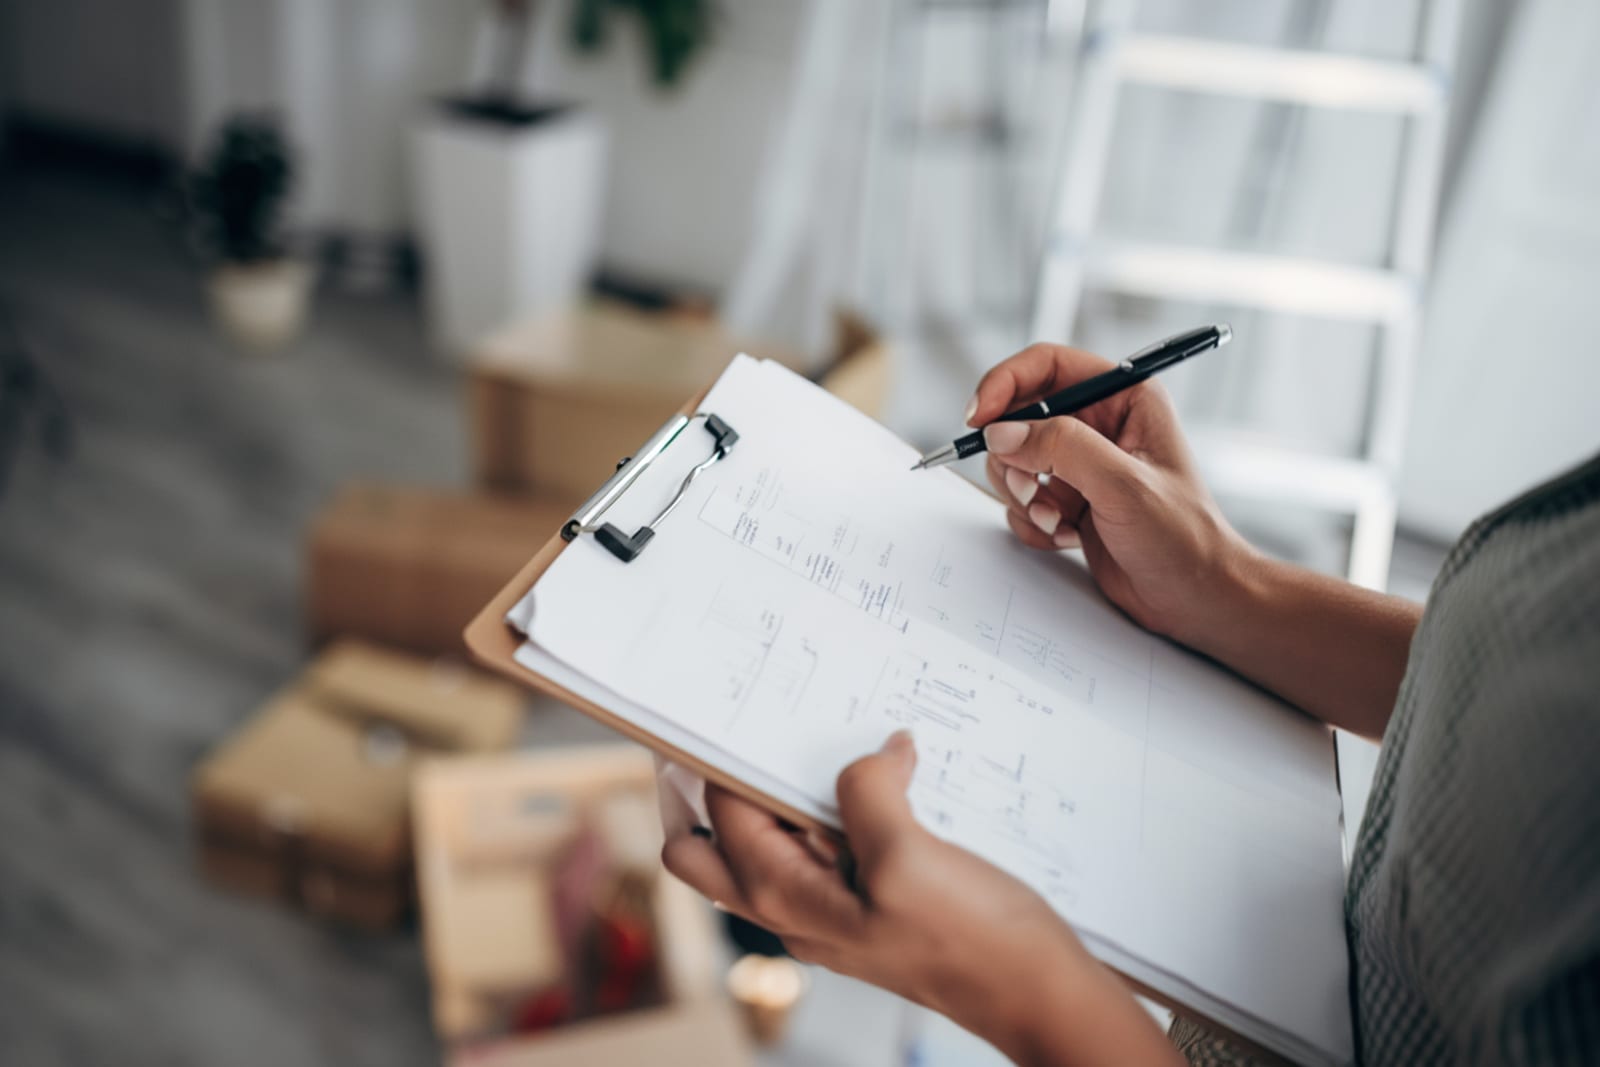
Before we consider a project complete, a final walkthrough confirms everything meets quality standards and your expectations.
- Final moisture readings — pin-type and non-invasive meters confirm all materials are at target moisture content
- Visual inspection — repaired areas are checked for finish quality, proper texture matching, and paint consistency
- Documentation package — you receive a complete file: initial assessment, daily moisture logs, progress photos, scope of work, final clearance readings
- Insurance coordination — final documentation is formatted for your carrier, and any outstanding supplement requests are addressed
This documentation package serves two purposes: it proves the work was done correctly, and it creates a permanent record for your insurance file and home records.
How Long Does the Full Process Take?
Every water damage event is different, but here are realistic timeframes based on what we typically see in Austin-area homes:
- Small, contained event (one room, Category 1) — 5 to 7 days total. Drying takes 3 to 4 days; repairs add 1 to 3 days depending on materials involved.
- Moderate event (multiple rooms, Category 1 or 2) — 7 to 14 days. Drying may take 4 to 6 days; more extensive demolition means more repair time.
- Large or Category 3 event (whole-home, sewage involvement) — 2 to 4 weeks or more. Extensive demolition, aggressive cleaning protocols, and significant reconstruction.
Austin's warm climate is a mixed factor. Heat accelerates evaporation, which is good. But high outdoor humidity — especially in summer — means dehumidifiers must work harder to maintain the grain depression needed for effective drying. We adjust equipment daily based on actual conditions, not calendar estimates.
The biggest variable in total timeline is often insurance coordination. If your adjuster approves the scope quickly, repairs begin as soon as drying is complete. Delayed approvals can add days or weeks between phases. See our insurance claims guide for tips on keeping the process moving.
What You Need to Do at Each Stage
Restoration is not a passive process for homeowners. Here is what you should be doing at each phase to protect your home and your claim:
- Before the team arrives — Shut off the water source if you can do so safely. Do not enter standing water if there is any risk of electrical contact. Take photos and video of the damage from multiple angles. See our complete action guide for the first 30 minutes.
- During assessment — Be present if possible. Share what you know about the water source, when you first noticed it, and any prior moisture issues. Ask for a copy of the initial moisture map.
- During extraction and drying — Keep pets and children away from equipment. Do not move or adjust air movers or dehumidifiers — they are positioned based on moisture readings. Ask for daily updates on moisture levels.
- During repairs — Review the scope of work before it begins. Confirm material selections (paint color, flooring type, trim profile). Walk through the work in progress if you have questions.
- At final walkthrough — Inspect every repaired area carefully. Check that textures match, paint blends, and everything functions correctly. This is your chance to flag anything before the project closes.
Understanding the cost factors at each stage also helps you have informed conversations with both your restoration team and your insurance adjuster.
Frequently Asked Questions
Have Questions About the Restoration Process?
Talk to a specialist who will explain exactly what your situation requires — no pressure, no sales pitch. We walk you through every step before any work begins.
Serving Austin & Surrounding Communities
Our certified water damage restoration teams serve Austin and all major communities throughout the greater Austin metro area.